Figure makers
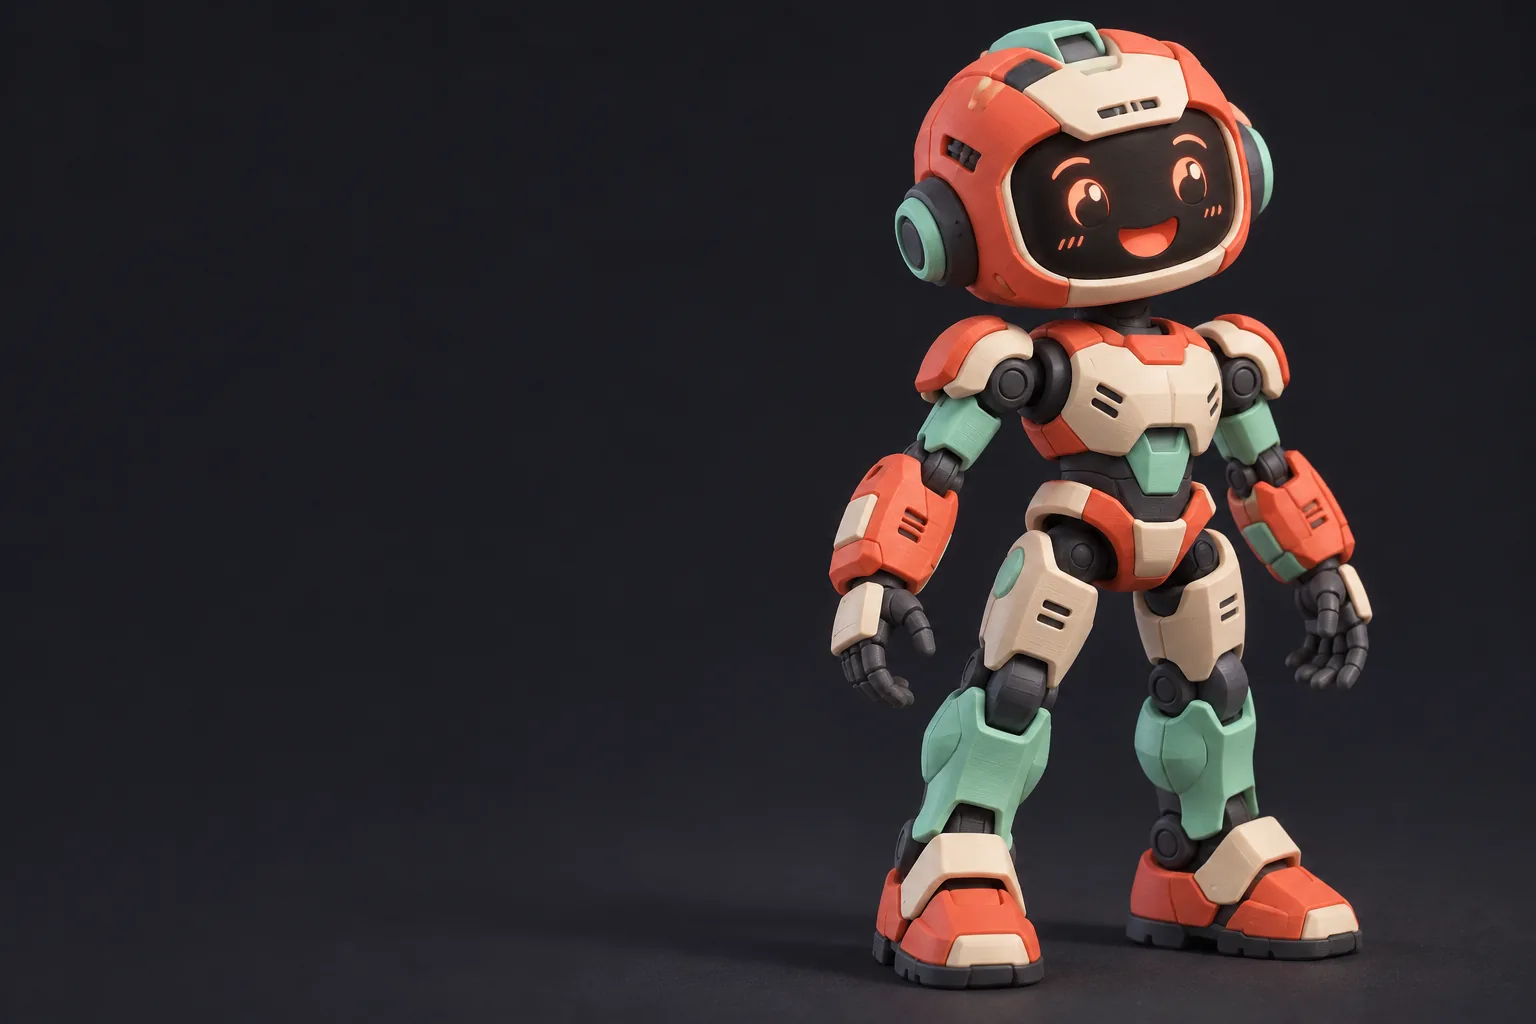
A character or mascot uses a small number of strong colors for eyes, clothing, markings, and accessories.
The 3MF project stays readable, with important details separated before the print preview.
Multicolor workflow
How to do multicolor 3D prints starts with a clean 3MF project, deliberate color assignments, and a visual check before slicing. Use a 3mf color editor to organize the model before sending it to your printing workflow.
A reliable multicolor 3D printing workflow should make color intent visible, keep the 3MF project organized, and expose mistakes before material is loaded.
Treat every color region as a deliberate part of the print plan, not as decoration added after the model is finished.
Open the project and identify the separate objects, shells, or regions that need different materials or colors. Rename ambiguous parts before editing so later checks are easier.
Use the 3mf color editor to assign a clear palette to each intended region. Check seams, small details, and areas where adjacent colors could merge visually or mechanically.
Review the finished 3MF project in the target printing workflow, confirm the color assignments survived export or import, and inspect the preview before starting the job.
Most wasted iterations come from unclear boundaries, overlooked small parts, or color assignments that were never checked in the final preview.
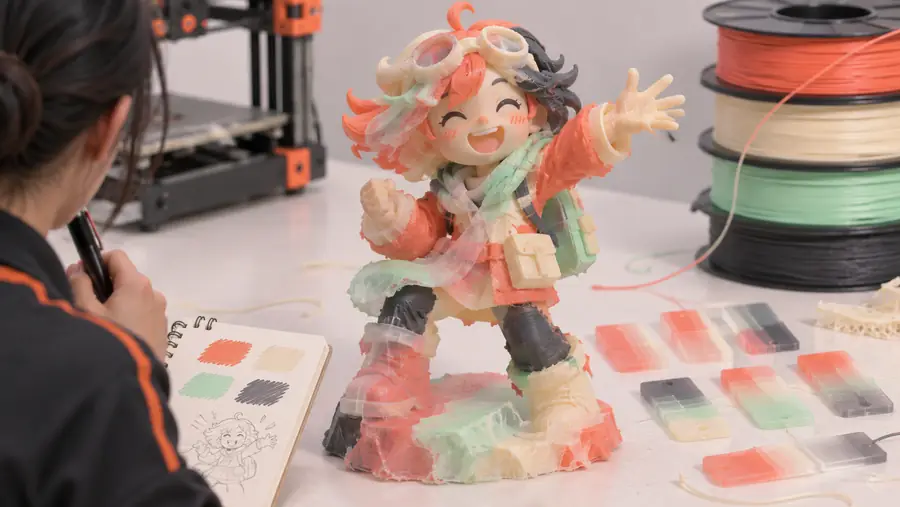
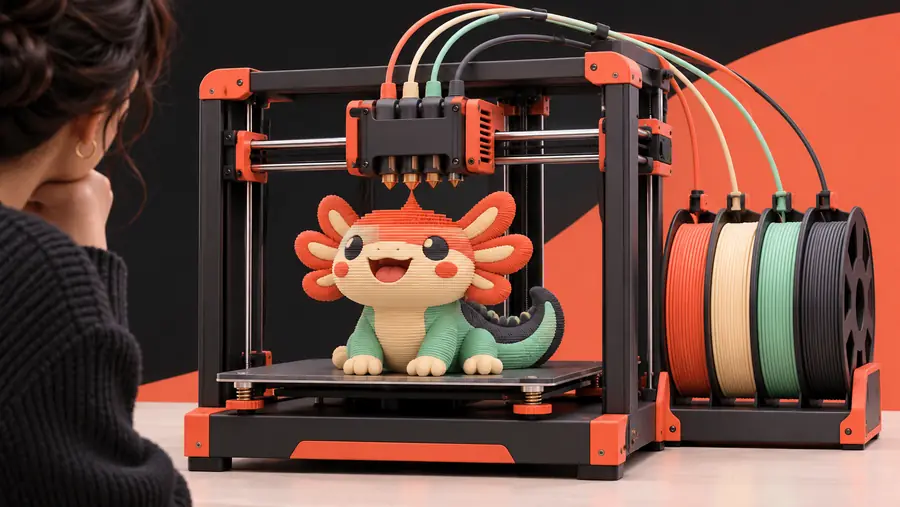
A visible color plan makes rework easier to catch before printing.
Before reviewAfter color reviewThe right workflow depends on what you are printing, how many materials are involved, and how much visual precision the finished object needs.
A character or mascot uses a small number of strong colors for eyes, clothing, markings, and accessories.
The 3MF project stays readable, with important details separated before the print preview.
A product mockup uses color to distinguish components, surfaces, or functional zones during a review.
Stakeholders can inspect the visual intent before committing to a physical multicolor prototype.
A prepared model must move from color editing into an established slicing and printer workflow without losing assignments.
A final inspection step reduces surprises between the edited 3MF file and the sliced preview.
An existing monochrome asset needs purposeful color regions added without rebuilding the whole model.
The designer can focus on assigning and checking regions rather than repeating unrelated modeling work.
Bring the model, palette, and print intent together in one 3MF color editor workflow. Start with the regions that matter most, review the result, and hand off a clearer project for multicolor 3D printing.
These answers address the practical starting point for multicolor 3D printing and the checks that make the process more predictable.
Start with a model that has identifiable regions, assign colors or materials to those regions in a 3MF color editor, and inspect the result in the intended printing workflow. The final preview should confirm that the color assignments and boundaries are still present before you print.
A 3MF project is useful because it can carry a structured model and its related print information in one project file. Review how the objects and color regions are organized rather than relying only on the appearance of a single solid mesh.
Open the model in a 3MF color editor, identify the parts or surfaces that need different treatment, and assign a consistent palette. Then inspect small details and touching boundaries, since those are common places for an intended color separation to become unclear.
Use the preview in the destination printing workflow and compare it with the intended color plan. Check the full object, small features, object boundaries, and any areas where neighboring colors meet before committing material and machine time.
Rework often comes from unclear regions, accidental color assignments, missing small details, or a handoff that changes how the project is interpreted. A deliberate review in the 3MF color editor and again in the final preview helps catch those issues earlier.