Color workflow guide
A practical way to learn how to use 3mf color editor online
Start with a model, decide which surfaces need distinct colors, and check whether your chosen software can preserve those choices in a 3MF project. This guide separates color planning from editing and print preparation, so you know what to verify at each stage.

prerequisites
Before choosing an online workflow, identify your source file, the colors you want to assign, and the software that will prepare the final print.
- what is 3mf color editor stl files Compare what 3MF can record with what an ordinary STL mesh typically leaves out.
- add color to 3mf file Work through the distinction between assigning colors and preserving them in a file.
- how to edit 3mf files in bambu studio See where project colors need to be checked in a printer-specific slicing workflow.
numbered steps
Use these steps with a tool whose import, color-assignment, and export capabilities you have confirmed; interface labels vary between editors.
-
1
Inspect the source model
Open the model in software that supports its format, then rotate it and inspect the parts you intend to color. Record which regions are already separate objects and which are part of one continuous mesh. If you only have an STL, do not assume a colored preview means color data exists in the file. If you have a 3MF, check whether it contains actual material or color assignments rather than just geometry. Save a working copy before making changes, especially if the file also contains print settings you may need later.
-
2
Plan and assign color regions
Choose a small palette and map each color to a specific part or surface. An online 3mf color editor may offer part-based assignments, surface painting, or another method; verify the available controls rather than expecting all three. Give tiny details extra scrutiny because a color boundary that looks clear on screen may be difficult to reproduce at your planned print size. When working from a single-piece mesh, determine whether the editor can select the regions you need. If it cannot, separate the geometry in compatible modeling software before continuing.
-
3
Save, reopen, and check the print
Export using a format that preserves the assignments your workflow needs, then reopen the saved file instead of trusting the editing preview. Confirm that the same parts retain the intended colors and that the model is still complete and correctly scaled. Next, inspect it in the slicer you will actually use: check material or filament mappings, slice the model, and review the layer preview for unexpected color changes. Treat the slicer preview as a verification step, not proof that every printer can produce the result without suitable hardware and materials.
common errors and fixes
A convincing preview is not enough. The most useful troubleshooting test is whether the saved model and the sliced preview agree.

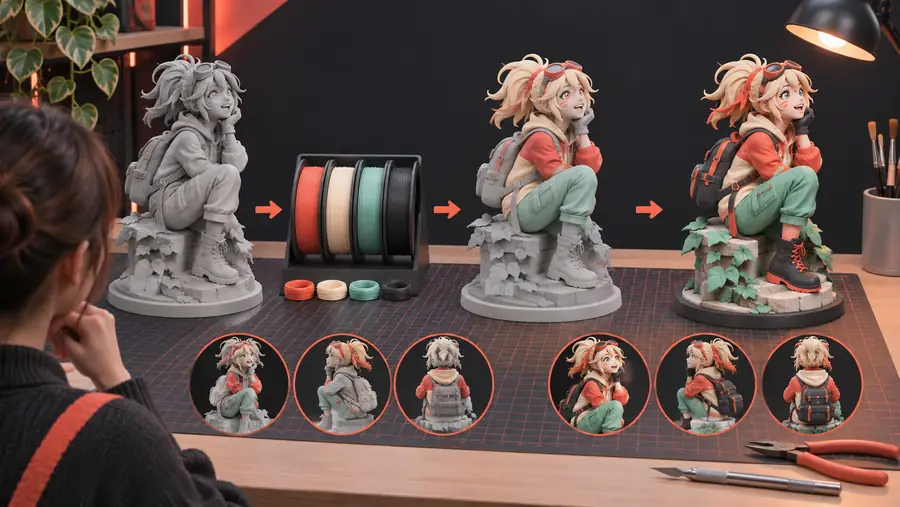
Illustrative views, not a verified before-and-after export. If colors disappear after saving, check the export format and reopen the file. If they change in the slicer, check its material mappings.
Unverified previewChecked color planadvanced tips
When choosing an online 3mf color editor workflow, compare what survives the full trip from source file to slicer—not just what looks editable on screen.
| 3MF-based workflow | STL-only workflow | |
|---|---|---|
| Color information | The 3MF specification can carry color and material information when the exporting and importing applications support it. Confirm that your particular file contains those assignments; the extension alone does not prove it. | Ordinary STL describes surface geometry and has no standard, interoperable way to carry the same color assignments. Plan to establish colors in a later tool or use another supported file workflow. |
| Source inspection | Inspect existing parts, materials, and colors before editing. A 3MF may also include application-specific project information, so preserve the original if you are unsure what another editor will retain. | Inspect mesh integrity and whether the colored features are separate pieces. A single joined mesh may require geometry edits before reliable part-by-part assignment is possible. |
| Region boundaries | Check whether your editor assigns color to whole parts, selected surfaces, or painted regions. Those methods can produce different boundaries even when the initial preview looks similar. | Use distinct meshes where appropriate or verify that your downstream slicer offers the painting controls you need. Do not expect a colorless STL export to preserve an earlier paint job. |
| Saving a working file | Save a new version and reopen it to check that the assignments survived. Keep the source separately because an export may omit settings or data that another application originally stored. | Save the geometry separately from any slicer project that holds your color work. Reopening the STL alone cannot verify assignments stored only in that project. |
| Slicer verification | Load the saved 3MF into the intended slicer, check how colors map to available materials, and inspect the sliced layers. An imported color is not automatically a correct filament assignment. | Set up the slicer's color or material assignments after import, then inspect the layers. Repeat the check if you replace the STL, since project-level assignments may need revisiting. |
| When to choose it | Prefer this path when the applications on both ends demonstrably preserve the color data you need. Test a small, simple model before relying on a complicated project. | Use this path when you primarily need geometry and will handle colors elsewhere. It can be workable, but it does not replace a tested color-preserving handoff. |
tutorial FAQ
First check whether the editor accepts STL and whether it can assign colors to the regions you need. An ordinary STL does not supply standard color assignments, so you are creating them during the new workflow rather than recovering them from the file. Save in a supported format and reopen the result before checking it in a slicer.
The export may not have included the color data, or the application reopening it may not interpret the assignments in the same way. Reopen the exported file in the editing application first, then test it in your intended slicer. Keep the original project until both checks pass.
That depends on whether your chosen software supports selecting or painting regions on one mesh. A tool limited to assigning colors by object may require you to separate the geometry first. Test a small area and check the saved result before coloring the entire model.
No. You still need to check material mappings, available printer capabilities, and the slicer's layer preview. A model can display the intended colors while its print preparation points those colors to the wrong materials.
Confirm that it accepts your source format, offers the kind of region selection your model requires, and can save data your next application reads. Use a copy of the model for an initial test. A successful round trip—edit, save, reopen, and slice—is more informative than the editor preview alone.