Brush and eraser
A brush suits individual details. An eraser is useful when a selected area needs its earlier appearance restored.
Color editor
Illustrative color preview. Describe an idea above to continue to the 3D studio.
Explore how an STL can become a color-aware 3MF. Plan distinct surface regions, choose a palette and check the finished file in your slicer.
A practical introduction to color regions and 3MF files. Continue to the studio when you are ready to explore its tools.
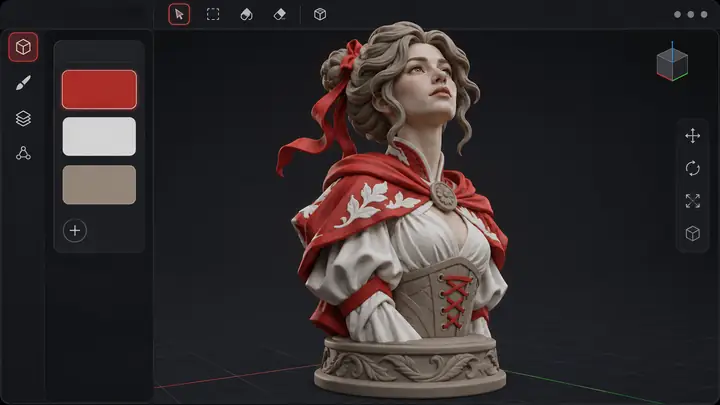 From plain model to color regions
Illustrative workflow
Read the workflow here, then continue to the studio.
This page does not request or upload your model.
A 3MF can carry color assignments for a compatible slicer.
The tools
From broad surfaces to tiny details, different editing approaches help define a model’s color regions.
A brush suits individual details. An eraser is useful when a selected area needs its earlier appearance restored.
Angle-based selection can cover connected surfaces. Inspect the preview before accepting a broad color change.
Choose shades that correspond to your intended materials, then keep their assignments consistent across the model.
Check borders between colors, close small gaps and inspect the surface from more than one viewing angle.
Work in small passes so a misplaced color is easier to identify and correct before preparing the file.
For printing, the exported 3MF and the slicer setup must agree on the intended color and material assignments.
How it works
Start with a suitable STL or 3MF and check its geometry before assigning colors.
Select a manageable set of shades that matches the materials you intend to use.
Define surface regions, inspect their edges and correct any areas that need attention.
Open the resulting file in a compatible slicer and verify its print settings.
If the original model has overlapping pieces, inspect the geometry separately before coloring. Surface assignments do not automatically split a model into printable parts.
Editor gestures
Use small strokes for details, then rotate the model to examine your work.
A region-filling tool is suited to larger areas; review its selection before confirming.
Correct a touched area without planning the entire palette again.
Review changes as you go, especially around narrow edges and adjacent colors.
A 3MF can store more than an STL: it may retain color and material information alongside the geometry. Check how your chosen slicer reads those assignments before printing.
In your slicer, confirm the printer, installed materials and spool assignments. An STL alone does not retain these color assignments.
STL generally describes geometry, while 3MF can also hold color and material data. Check which formats a particular editor and slicer accept.
Surface colors guide the visible result. The slicer determines how compatible assignments become printable regions.
No. Assigning surface colors and separating geometry are different operations. Inspect the model if separate physical parts are required.
Use the studio link on this page to explore the available 3D tools. Review its current features and file options there before starting a project.
Practical guide
STL stores geometry. To preserve color assignments alongside a model, use a compatible 3MF workflow.
Begin with your model and choose colors that correspond to the materials you plan to print.
Work from broad regions toward small details. Inspect the model from several sides and correct its boundaries.
Open the file in a compatible slicer. Confirm printer settings, material mapping and spool choices before slicing.
Coloring a surface does not separate a model into pieces. Multicolor printing also depends on your printer, materials and slicer setup.
Explore the ideas behind coloring a 3D model, then visit the studio to see which tools fit your project.
Explore the 3D studio