Model designer
A finished 3MF model has correct geometry but its parts need clearer visual separation.
Apply a focused color pass without reopening the entire modeling workflow.
Focused workflow
Use a 3MF color editor when the goal is to change appearance rather than redesign geometry. This focused route keeps color work separate from broader model editing.

Related paths
Choose the route that matches your starting point, from browser-based editing to multicolor print preparation.
Choose by goal
The same 3MF color editor can serve different people, but the useful next step depends on what the file must do afterward.
A finished 3MF model has correct geometry but its parts need clearer visual separation.
Apply a focused color pass without reopening the entire modeling workflow.
A multicolor project needs recognizable part colors before it moves into slicing.
Check the visual assignment early and catch unclear regions before print setup.
A 3MF project is being prepared for a Bambu Studio-based print workflow.
Keep color decisions understandable before handing the project to the slicer.
You need to compare an original project with a color-adjusted version.
Use a dedicated color pass to make the difference easy to inspect and discuss.
Simple sequence
Treat color as a controlled pass: open the project, assign the visible changes, then inspect the result before using it elsewhere.
Bring the 3MF file into the focused editor and confirm that the intended model and parts are present.
Select the parts or regions that need a change, then use distinct colors that make the model easy to read.
Compare the edited appearance with the original and keep the version that matches your print or presentation goal.
Route at a glance
Capability split
A focused color route is useful when the model is already built. A general editor is the broader choice when geometry, structure, and appearance all need attention.
| Focused color entry point | General 3MF editor | |
|---|---|---|
| Primary purpose | Change the visual color treatment of an existing project | Handle broader project editing, including structure and appearance |
| Best starting file | A 3MF model whose geometry is already acceptable | A project that may need inspection or changes beyond color |
| Main decision | Which parts or regions should receive which colors | Which modeling, layout, or appearance properties need revision |
| Geometry work | Not the reason to choose this route | Better suited when geometry also needs attention |
| Review focus | Color contrast, part identity, and visual clarity | Overall project correctness across several editing concerns |
| Next handoff | A reviewed color-adjusted 3MF project | A more broadly revised project ready for its next tool |
Visual check
The useful change is not decoration for its own sake. It is a clearer relationship between parts, regions, and the final print or presentation.
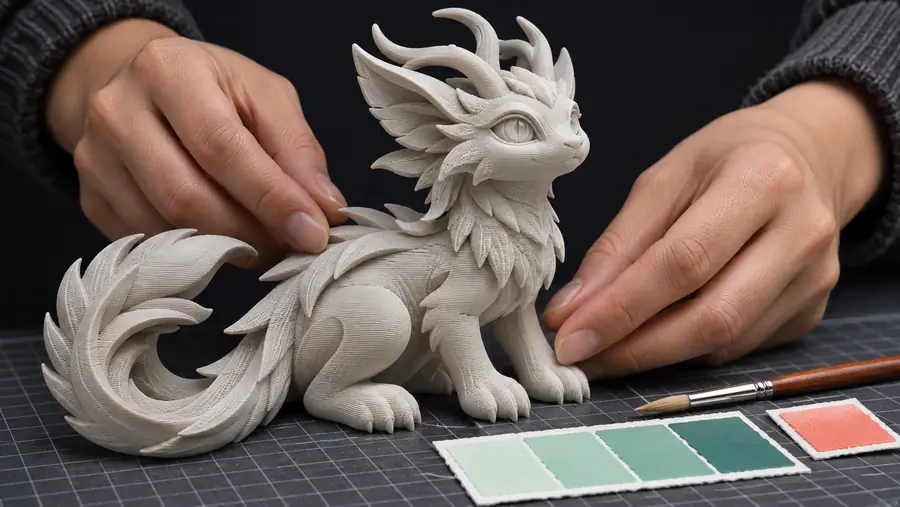
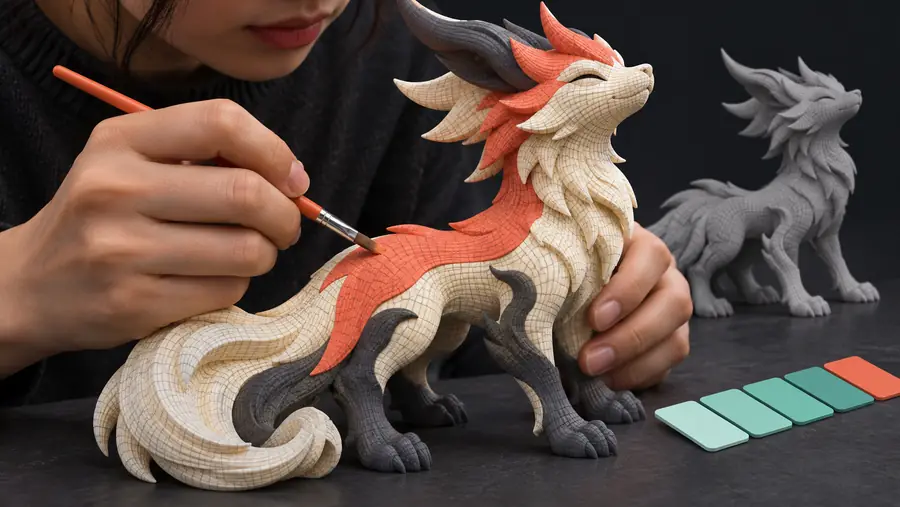
Compare part identity before moving to the next workflow.
Before color assignmentAfter color assignmentKnow the boundary
A focused 3MF color editor is not a replacement for every modeling, slicing, or repair tool. These boundaries help you choose the right next step.
Changing color will not repair a mesh, reshape a part, or add missing features.
What to do instead
Use a modeling or mesh-repair tool first, then return for the color pass.
A visually clear color assignment does not by itself confirm printer, filament, or slicer settings.
What to do instead
Check the project in the intended slicing and printing workflow before production.
Color changes can make a model easier to read, but they cannot confirm that every part is positioned or named correctly.
What to do instead
Inspect the full 3MF project and compare it with the original before handoff.
If you need extensive structural or appearance changes, a narrow color workflow may slow you down.
What to do instead
Start with the general editor, then use the focused route for final color refinement.
Ready for the next pass
Open the project, separate appearance changes from geometry changes, and inspect the result before sending the file into your wider 3D workflow.
Common questions
Yes, that is the main reason to use a focused color workflow. It lets you work on the visual treatment of an existing project instead of rebuilding its parts.
A focused editor starts with color assignment as the primary task. A general editor is a better fit when you also need geometry, structure, layout, or broader project changes.
You can use the color-adjusted project as part of a multicolor printing workflow, but visual color assignment alone does not confirm printer or slicer settings. Review the file in the intended print workflow before production.
That depends on where you want to make the color decisions. A focused color pass can make the project easier to inspect first, while Bambu Studio may be the more appropriate place for slicer-specific preparation.
Handle mesh or geometry repairs in a suitable modeling or repair tool before using the color workflow. Once the structure is sound, apply colors and review the finished project.