
3mfcoloreditor

Bambu Studio workflow

A practical guide to how to edit 3mf files in bambu studio

If you are searching for how to edit 3mf files in bambu studio, first identify what needs changing: the model's geometry, its painted regions, or its filament assignments. A 3mf color editor can help you think through the color plan, but Bambu Studio is where you must inspect the imported project and prepare the print.

Free to start · no signup
Illustration of a colored 3D model concept

Find the part of the color workflow you need

A 3MF project may contain more than a mesh. Its colors, parts, and print settings need separate checks, so use the related guides that match the change you intend to make.

Three concrete workflows for different starting points

The right workflow depends on what the file already contains. These cases distinguish a missing color plan, an existing painted project, and a model whose regions need redesign.

First-time color planner

You imported a single-color object and want a contrasting logo or face. Decide whether that detail should be a distinct part or a painted surface before assigning filament in Bambu Studio.

A clearer region plan that you can check in the slicer rather than guessing from a rendered image.

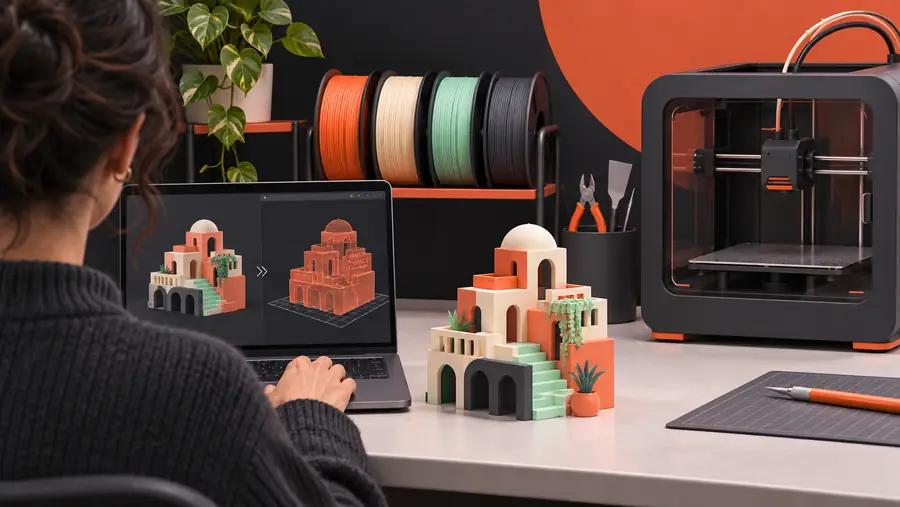
add color to 3mf file

Existing project editor

A shared 3MF opens with colors that do not match your available filaments. Inspect its objects, painted areas, and filament mapping before changing assignments.

An edited project whose visible regions and selected filaments agree in the preview.

how to use 3mf color editor online

Multicolor print maker

A model looks right on screen, but small accents may be difficult to print. Check region size, transitions, and the sliced preview before committing materials.

A color arrangement evaluated as a print job, not just as a concept image.

how to do multicolor 3d prints

Edit the project in three passes

Treat the 3mf color editor as a planning aid if you need one; make and verify print-project changes in Bambu Studio.

  1. 1

    Open and inspect

    Open the 3MF in Bambu Studio and check the object list, visible color regions, filament assignments, and imported print settings. Do not assume an appearance in a thumbnail describes the actual sliced result.

  2. 2

    Change the right layer

    For a filament mismatch, adjust the project's filament assignments. For surface accents, use the slicer's available painting tools. If a detail needs its own geometry, revise the source model and import it again.

  3. 3

    Slice and verify

    Slice the edited project, inspect the layer and color-change preview, and save a separate copy of the project. Reopen that copy to confirm the intended edits survived saving.

What the example output does and does not show

A colored concept and a verified 3MF are different outputs. Keep these boundaries in mind when comparing a design reference with a Bambu Studio project.

1

No direct slicer editing here

This page and its linked concept experience do not edit an open Bambu Studio project, assign printer filaments, or save a revised 3MF for you.

What to do instead

Make those changes in Bambu Studio and verify them in its sliced preview.

2

Appearance is not a material map

A reference image may suggest where colors belong, but pixels alone do not establish printable parts, painted faces, or material assignments.

What to do instead

Compare each intended color boundary with the actual model and its paintable surfaces.

3

Import does not guarantee compatibility

A 3MF can carry project information that is interpreted differently across applications. Settings from another slicer should not be treated as validated for your printer.

What to do instead

Review imported settings and slice the project again using the target printer profile.

Example output: from visual idea to checked project

Use the images as workflow illustrations, not as a claim that a concept image was automatically converted into an edited 3MF.

Illustrative 3D model reference before project-specific color checks
Visual reference
Illustration accompanying a Bambu Studio color-editing workflow
Project-check illustration

The useful output is the separately saved project whose object colors, filament mapping, and sliced preview you have checked in Bambu Studio.

Visual referenceProject-check illustration

Compliance notes before you print

3mfcoloreditor can point you toward a model-concept experience, not replace a 3mf color editor inside Bambu Studio. If you use a concept as a reference, check ownership and permissions for any source model, keep an unchanged copy of the original project, and confirm your printer profile, filament choices, and sliced preview before printing.

Explore a color concept, then validate the print

  • Keep the original 3MF unchanged
  • Verify color assignments in Bambu Studio
  • Review the sliced preview before printing
Explore model concepts

Bambu Studio scenario FAQ

Open the project and determine whether its colors come from painted regions, separate objects, or filament assignments. Change the relevant setting, then slice and inspect the preview; changing a filament swatch alone may not alter where color boundaries fall.

The file may contain assignments or settings created in another application, and its displayed appearance may not match your current filament setup. Check the object list and filament mapping, then review the sliced preview rather than relying on the initial thumbnail.

A picture can guide the intended color layout, but it does not by itself define printable regions or produce a verified slicer project. You still need suitable model geometry or paintable surfaces and must check the result in Bambu Studio.

Use surface painting when the existing shape is correct and the desired change is only visual. Edit the source geometry when a feature needs its own shape or distinct part; afterward, import the revised model and check its color assignments again.

Save the edited project under a new name and reopen it. Confirm the object appearance and filament assignments, then slice again to make sure the layer preview still matches your intended color layout.

Explore 3D studio
Explore 3D studio